Follow these steps to safely and correctly install your new T-post fence.
Step 1: Establish your corners
When installing metal fence posts, the first step is to establish the fence line’s corners and gates with wooden fence posts. Metal wire fences place a great deal of tension on the ends of an enclosure. To stand up to the pressure, fence corners and gates are best built with a solid wood fence post set in concrete and braced.

Step 2: Line up and space the posts
With the corners set and braced, run a guideline between them to ensure the T-posts are placed in a straight line. Use a tape measure to make sure there’s even spacing between the posts. A general guideline for metal fence post spacing is to set them 8-12 feet apart; 10-12 feet is sufficient for a five- to six-strand barbed wire fence. Before you begin installation, lay the posts on the ground around the guideline to verify spacing and the number of posts needed.
Step 3: Position the posts
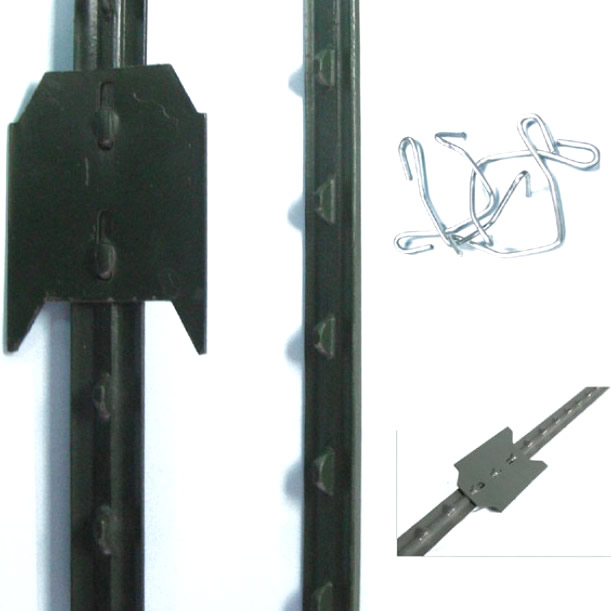
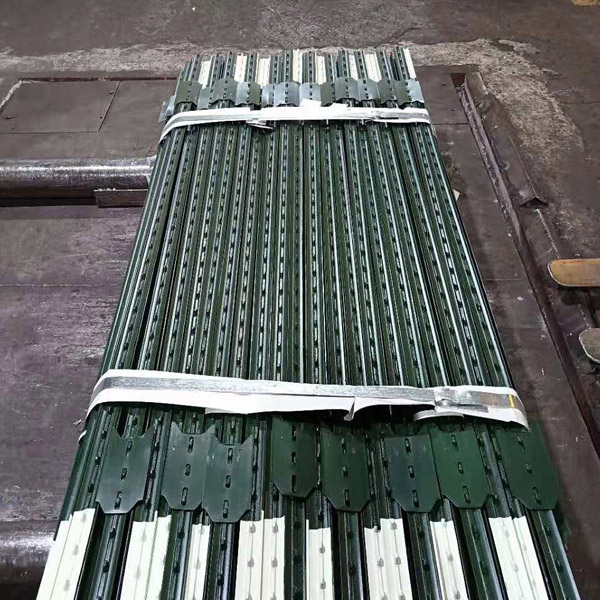
Position each T-post with the anchor plate at the bottom and perpendicular to the fence line. Which way the T-posts face depends on if you want to keep livestock in or predators out. Face the T-posts with the studs inward if animals will be putting more pressure against the inside of the fence. If animals will be putting more pressure on the outside of the fence, direct the studs outward.
Step 4: Drive the posts into the ground
To keep animals from pulling the posts out of the ground, drive the posts into the ground deep enough to completely bury the anchor, about 18-24 inches deep. A post driver — a weighted pipe that slides over the top of a T-post — works best, but a sledgehammer or regular hammer works in a pinch. As the installation progresses, move along the fence line to ensure the anchors are in a straight line.
Step 5: Install the wire
Wire tension is essential to keep livestock inside — and predators outside — a fence. Stretch the metal fencing by securing it at a corner with a few staples, leaving 18-24 inches of excess wire on the end. Wrap it around the mainline to guarantee a strong connection. On the opposite corner, use a come-along to pull the wire tight, secure it with a few more staples, and wrap the excess wire around the post. Avoid over-tightening—the wire should be taut but not guitar-string tight.
Step 6: Add wire clips
Installing T-post clips keeps the fence wires from moving up and down and prevents them from getting pulled away from the posts. Set the wire clips in a stud on the T-post, hooking the wire with one side of the clip and wrapping the other side of the clip around the wire using a pair of fence pliers.
Barbed wire fence posts and other types of metal fencing are affordable, easy to install, and durable. This type of fence can be used for:
Keeping livestock, like cattle, contained
Preventing predators from getting at livestock
Fending off pests, like deer, from gardens
Dividing different properties
Providing a play area for pets
In addition to offering a safe and secure closure, fences built with T-posts are safe, secure, long-lasting, and durable. The materials only require occasional inspection and periodic maintenance, making them the go-to choice for ranchers, farmers, and anyone with a property that requires fencing.
Post time: Jun-15-2022


